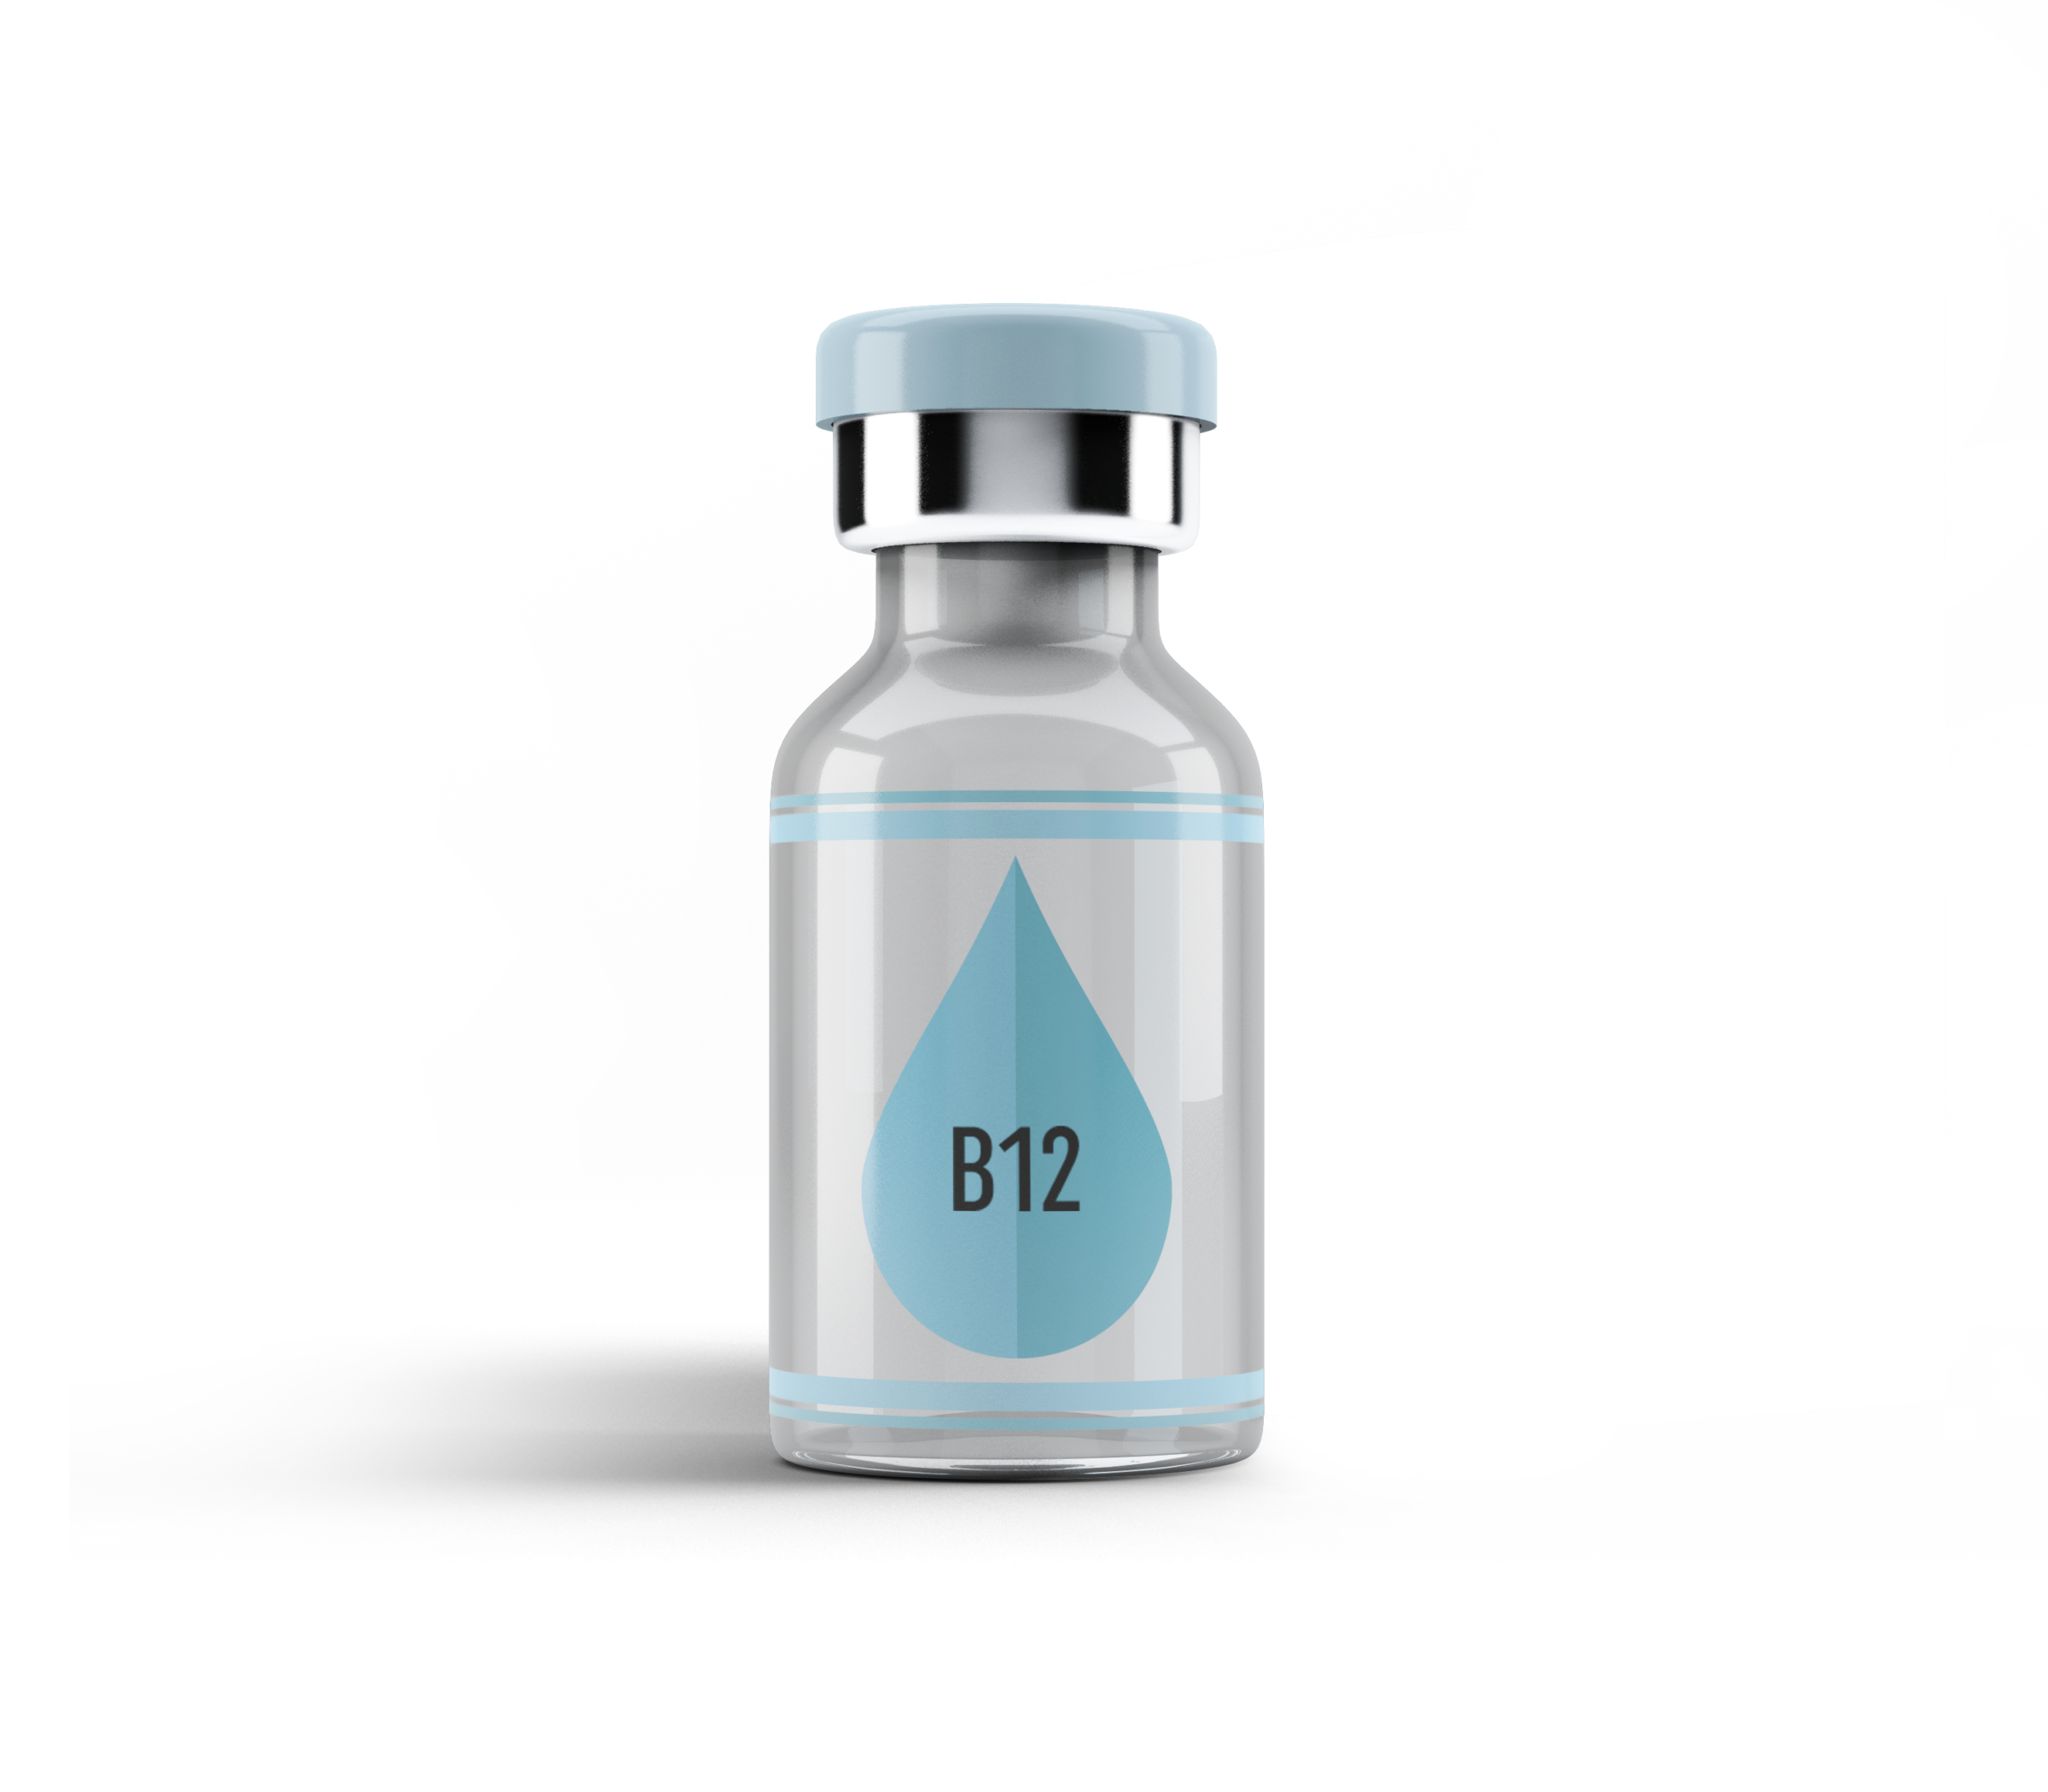
b12 self injection kit B12 Injection HOMEKIT
Introduction
If you’ve ever tried to fix low energy, tingling, or persistent “off” feelings and wondered whether a b12 self injection kit is the right move, you’re not alone. In my hands-on work with patients and wellness clients, the biggest friction wasn’t the idea of treatment—it was the practical question of doing it correctly at home: choosing a safe approach, understanding what to expect from a B12 injection, and knowing when home injection shouldn’t be the plan.
This guide is built for real-world decisions. You’ll learn what a B12 injection home kit is typically used for, how self-injection compares with clinic dosing, how to set up safely, and what “good results” timelines usually look like—so you can approach a b12 self injection kit with confidence and clear expectations.
What “B12 Injection HOMEKIT” Usually Means (and Why People Use It)
A “B12 Injection HOMEKIT” generally refers to a take-home system that supports self-administering vitamin B12 injections. While product contents vary by brand and country, the purpose is consistent: make a prescribed B12 regimen easier to follow between clinical visits.
In practical terms, what problems does it solve?
- Consistency: Fewer missed doses when clinic access is limited (work schedules, transportation, mobility constraints).
- Comfort with routine: Many people do better when a process is repeatable and documented.
- Time savings: In my experience, switching from clinic-only dosing to a structured home plan can reduce appointment time while improving adherence—especially when the regimen is frequent initially.
Where the logic is strongest
Self-injection tends to work best when:
- You have a clinician-confirmed need for B12 injections (e.g., documented deficiency or malabsorption).
- You’re taught proper technique and safety checks before starting.
- You understand that B12 is not a “feel it immediately” supplement—symptoms can take time to improve.
How a B12 Self Injection Kit Works: Components and Workflow
Not every b12 self injection kit is identical, so I always treat the label and instructions as the source of truth. That said, most kits share common categories: medication (or prefilled syringes), injection supplies, and guidance on storage and administration.
Typical kit components
- Medication form: Often prefilled syringe(s) or a vial + sterile syringe/needle arrangement.
- Sterile needles/syringes: Correct needle gauge and length matter for comfort and proper delivery.
- Alcohol swabs / skin prep: Helps reduce surface contamination.
- Sharps disposal solution: A puncture-resistant container for used needles and syringes.
- Administration instructions: Step-by-step guidance (and sometimes a dosing schedule template).
A reliable self-injection workflow (the part people often get wrong)
In my hands-on teaching sessions, the most common mistakes aren’t “big theory” errors—they’re small workflow issues that lead to discomfort, inconsistent technique, or dosing errors. Here’s the practical sequence I recommend following exactly as your clinician and the kit instructions specify:
- Verify readiness: Confirm the medication, dose, schedule, and expiration date.
- Prepare your space: Clean, well-lit area; supplies laid out so you’re not searching mid-procedure.
- Inspect supplies: Look for damage to packaging and ensure sterility indicators aren’t compromised.
- Skin prep: Clean the injection site with the included swab and let it air-dry.
- Deliver the injection: Use the correct angle and depth as instructed (this is where technique training matters).
- Dispose immediately: Put sharps into a proper container right away.
- Record the dose: A simple log helps track adherence and makes follow-ups easier.
Safety, Technique, and When Not to Self-Inject
Self-injection can be straightforward for many people, but it must be approached like a medical procedure, not a wellness ritual. The goal is safe administration and predictable outcomes.
What “good technique” is really about
Good technique aims to:
- Minimize tissue trauma (less pain, fewer bruises).
- Improve accuracy (reducing the risk of under-dosing).
- Reduce infection risk (through sterile handling and skin prep).
Common limitations and realistic downsides
- Needle anxiety: If you’re very uncomfortable, initial sessions may be harder than expected. In my experience, a short in-person training session can dramatically reduce fear and mistakes.
- Injection site reactions: Mild redness or soreness can happen. It’s important to know what’s “normal” versus concerning.
- Regimen complexity: Some people start with more frequent dosing and later move to maintenance. A confusing schedule can cause missed or doubled doses.
When to avoid self-injection
Don’t rely on a b12 self injection kit as the only support if you:
- Haven’t received training on dose verification and injection technique.
- Have symptoms that require urgent medical attention (e.g., severe neurologic changes).
- Have repeated injection-site complications (persistent swelling, signs of infection).
- Have uncertainty about whether B12 is the correct treatment for your situation.
What Results to Expect (and How to Track Them)
One reason people get discouraged is that B12 deficiency symptoms don’t always improve on a simple “day 1” timeline. In practical monitoring, I’ve seen the most success when expectations are specific and tracking is consistent.
Typical response patterns
- Energy and mood: Some people notice changes sooner; others take longer depending on the cause of deficiency.
- Neurologic symptoms (tingling, numbness): Often improve more slowly and may not fully reverse if damage is prolonged.
- Lab markers: Clinicians may monitor B12 and related measures over time to confirm response.
How I recommend tracking progress
Use a simple log for at least 4–8 weeks during the initial phase:
- Date/time of each injection
- Injection site and any immediate reaction
- Symptom checklist (e.g., energy, tingling, fatigue level) rated consistently
- Any side effects or missed doses
This isn’t just for reassurance—it helps identify patterns, improves adherence, and makes clinician follow-ups more efficient.
Choosing the Right B12 Self Injection Kit: Practical Checklist
When evaluating a b12 self injection kit, focus on the fundamentals that affect safety and usability, not just the fact it’s “for home.” Here’s a checklist I use when helping people compare options.
| What to check | Why it matters | What “good” looks like |
|---|---|---|
| Prescription alignment | Wrong dose or formulation undermines the plan | Matches your clinician’s dosing instructions |
| Needle type/size | Impacts comfort and accurate delivery | Needle guidance aligns with the regimen |
| Instructions quality | Reduces technique errors | Clear steps + storage/disposal guidance |
| Disposal solution | Sharps safety is non-negotiable | Puncture-resistant sharps container included or specified |
| Storage requirements | Prevents potency issues | Transport/storage directions are practical and specific |
FAQ
Is a b12 self injection kit safe to use at home?
It can be safe when you have a clinician-approved dosing plan, proper training on technique, and the kit supplies are sterile and used correctly. If you’re uncertain about injection steps or you have recurring complications, pause self-injection and get medical guidance.
How long does it take for B12 injections to work?
It varies by the cause of deficiency and the symptoms you’re targeting. Some people notice improvements sooner for energy or fatigue, while neurologic symptoms may take longer and may not fully reverse if deficiency was prolonged.
What should I do if I miss a scheduled dose?
Follow the dosing guidance provided by your clinician or the kit instructions. Don’t double up unless you’ve been specifically told to—confirm the plan so you maintain safe, consistent dosing.
Conclusion
A b12 self injection kit can be a practical way to support a prescribed B12 regimen—especially when consistency is hard to maintain with clinic-only dosing. The keys are safe technique, correct dose handling, proper sharps disposal, and realistic expectations about symptom timelines. In my experience, the biggest wins come from setting up a reliable workflow and tracking doses and symptoms so you can course-correct early with your clinician.
Next step: Schedule or request hands-on injection training (if you haven’t already), then create a simple injection log aligned to your prescribed schedule before your first at-home dose.
Discussion